Biplanes have struts (most of them do, anyway), and the Great Lakes offers plenty of opportunity to learn how to build them. There are no bracing struts on the tail assembly, but we have a whole collection of them in the landing gear assembly, the usual interplane (outboard) struts, and the cabane struts (which hold the upper wing in place). Let’s build the cabane struts first.
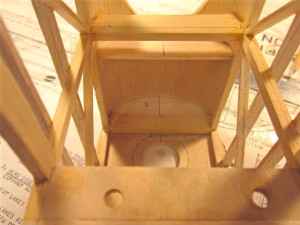
One of the interesting things (challenges?) about this kit is that some of the structural details are left pretty much to the imagination and creativity of the builder. "Back when" it was pretty well assumed that if you bought the kit, you knew enough to build it without having every step explained in detail. This was OK if everyone "out there" had worked his way up through a progression of ever more demanding models, but it didn't always work out that way. The result was a whole lot of nice kits that never got finished by would-be builders who got in over their heads. That still happens, but nowadays kit engineering and the quality of plans and instructions puts many of the old products to shame. Like many other older manufacturers, FlyLine offered some wonderful. subjects, but assumed a lot. One of the structural design features of this particular kit that I am not comfortable with is the attachment of the cabane struts both to the fuselage and to the wing. In my opinion, doing it "by the book" would result in a floppy, marginally flightworthy assembly, so I changed it. Keep in mind that what I'm showing you here is ONE WAY of dealing with the issue, but not necessarily the only way. I added cross braces of 3/16" x 1/2" spruce between the upper longerons, inside the previously built fuselage structure, at the firewall and lower wing leading edge stations where the cabane struts will attach. I could have done this earlier, before the top sheeting was in place, but I'd already made the decision to trust the plans and deal with issues like this as they came up, in order to be able to show you how to go back and make changes when necessary without spoiling everything you've done so far.
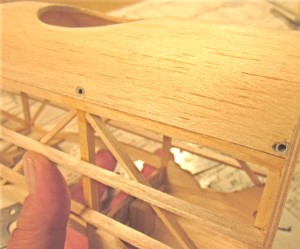
The cabane struts are going to plug into those cross members I just glued in place. I marked and drilled a hole through the top deck sheet into each end and then inserted a short length of aluminum tubing into each hole. The tubing size is not critical...I used an I.D. of 3/32" to fit the wire you'll see shortly. Larger diameter tube and wire might be stronger, but also heavier.
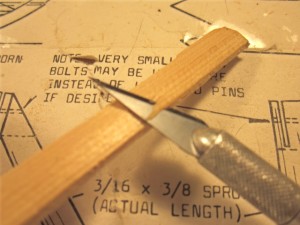
I used the stock kit material, 3/16" x 1/2" spruce strip, to make the struts. Here I am using an ordinary No. 11 blade to rough-shape what will be a front cabane member to the finshed cross section.
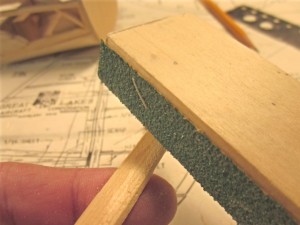
I am using a piece of 40-grit autobody abrasive paper to finish off the basic cross section of the strut. I'll follow this with progressively finer paper, always on a block, down to 320 grit.
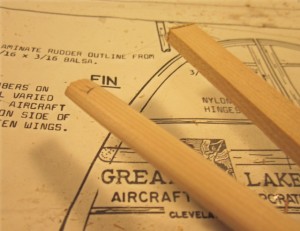
- Here is a fully shaped strut section next to a piece of the 3/16″ x 1/2″ sq. spruce as it comes out of the box.
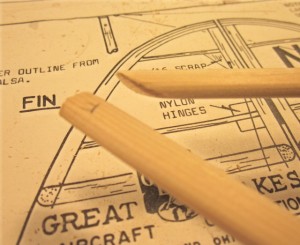
The cabane struts on the full scale airplane are made of streamline steel tube sections cut to a "fishmouth" joint and welded together. I have shaped the leading edge of the center strut to fit against the rear edge of the front strut using a circular rasp. The next step will be to jig the parts in position over the plan and assemble them using thick cyanoacrylate. Done right,such a joint has a close resemblance to the appearance of a tubing weld.
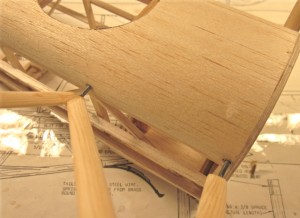
With the wire joiners in place I can test fit each cabane strut assembly into the holes already drilled into the ends of the spruce cross members. I left this strut sticking out so you can see how the wires fit...in practice the strut end will fit snugly against the top deck sheet.
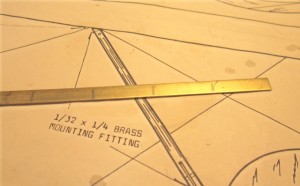
I'm going to use some of the material provided in the kit for the cabane strut uper end fittings. This piece of brass strip has been marked to be cut into into 7/8" sections.
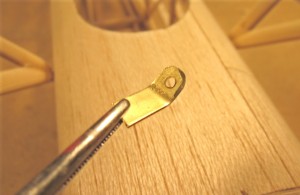
I filed one end of the brass strip to a rounded outline, drilled it to accept a 2-56 machine screw, and then bent it to match the cabane-to-top-wing angle shown on the plan.
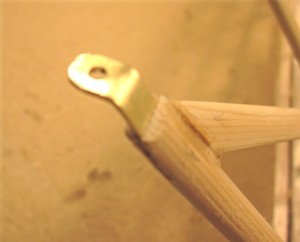
I used a bandsaw to (very carefully) cut a slot into the top end of each strut, then slip-fit the brass fitting into an approximation of the final position.
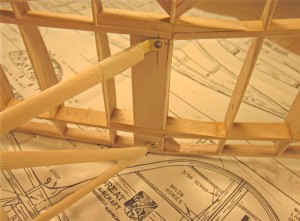
With those brass fittings slip-fitted into postion I used 2/56 machine screws through locating holes already drilled into the top wing center section to hold the top wing loosely in place.
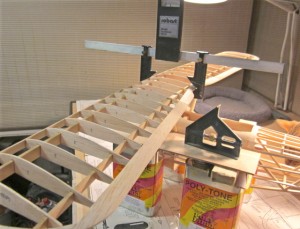
With the top cabane ends loosely in place I jigged the fuselage (and the cabane assemblies with it) on the building board with the top longerons fixed at 0 degrees. I then used an incidence meter to set the upper wing at the required two degrees positive (per the plan) by adjusting each of the upper cabane fittings in the strut ends as necessary. Then, with everything taped in place, I removed the whole airplane from the board and used thin cyanoacrylate to lock each fitting into its respective strut end. On a model this small, the flashing left by the metal snips I used to cut the brass strip provides enough "tooth" to make a secure joint once I'm finished with it...on a bigger model I would have drilled each assembly for a through-bolt fastener.
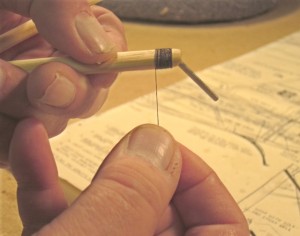
With each of the strut end assemblies adjusted exactly to length I did a "thread-wrap" secured with plenty of thin cyanoacrylate to lock everything in position.
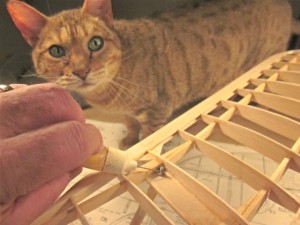
- With everything else in position, I installed 2-56 hex nuts on the inner ends of the upper cabane screws. Here I am using a drop of machine oil on the end of each screw prior to locking it in place with a generous drop of thick cyanoacrylate…the oil will assure that I can remove each screw later. I could have used “blind nut” inserts instead. As usual, I can’t get away with anything in my shop without feline supervision.

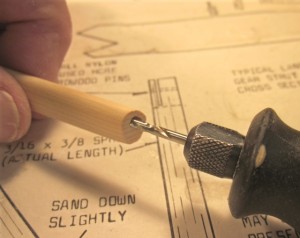
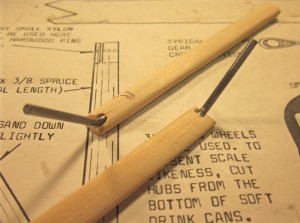
I wish I’d seen this before mounting the Sopwith Camel top wing, I really like the idea of adjustable struts. Plus making them out of wood in the first place with threaded mount points means I wouldn’t have to spend time fairing wire and trying to hide it in the wood after the fact.